
STOCK ILLUSTRATION: Technical Tips for Submitting Graphics
Let’s get a little technical, shall we? You’ve decided to go for it with stock illustration and you’re ready to start submitting your graphics. Before you dive in, take a minute to examine some of the technical aspects of your work. When selling stock, it’s always a good idea to ask yourself what kinds of images a commercial client might need. In this post, I’ll walk you through some technical tips for submitting graphics that will ensure your graphics are clean and easy for the consumer to use.

The two types of images you can submit are called raster-based images and vector images. Although you can submit raster-based illustrations (just submit them as you would a photo) vector-based illustrations are much easier for clients to manipulate and edit after they have downloaded them. So, instead of creating an illustration in multiple colors, the customer can modify it to fit their needs. You only need to upload one version but make sure your illustration is adaptable.
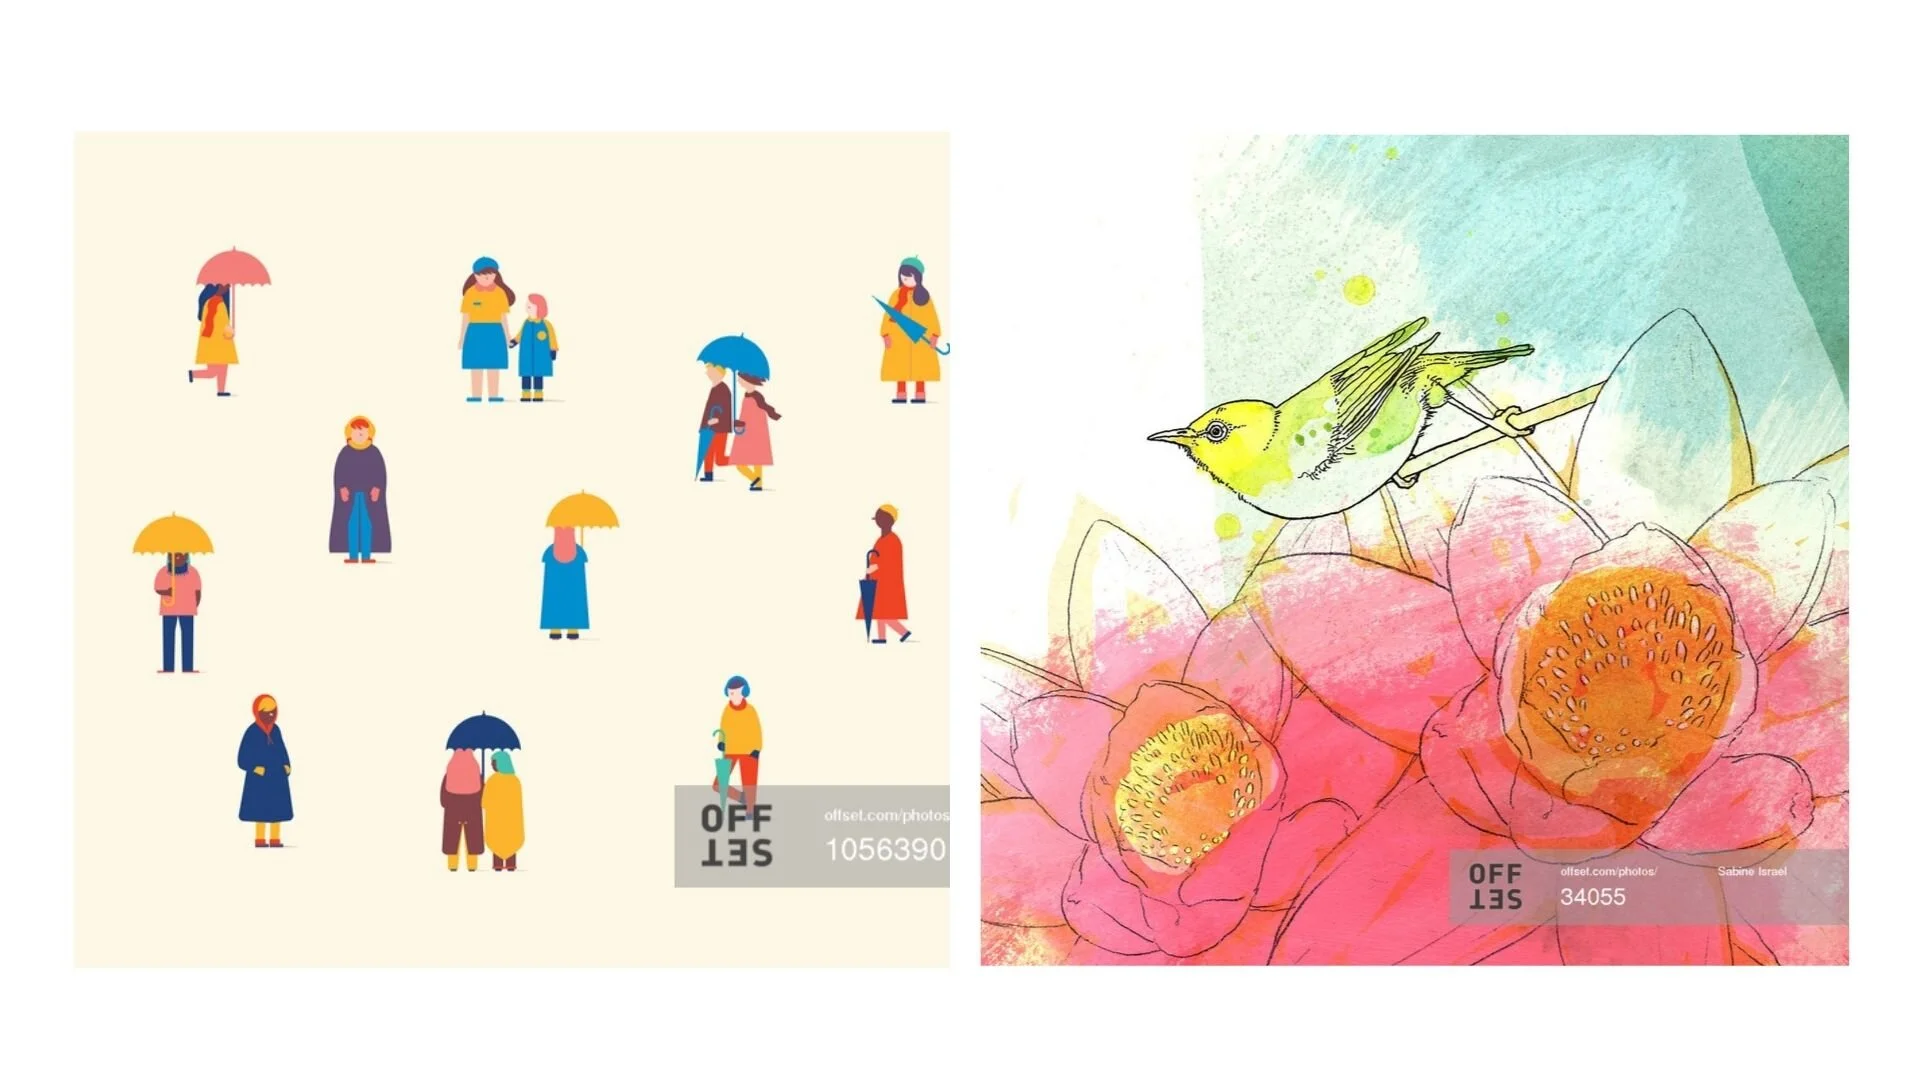
Vector Based vs. Raster Based Illustrations
Here are my top 5 technical tips:
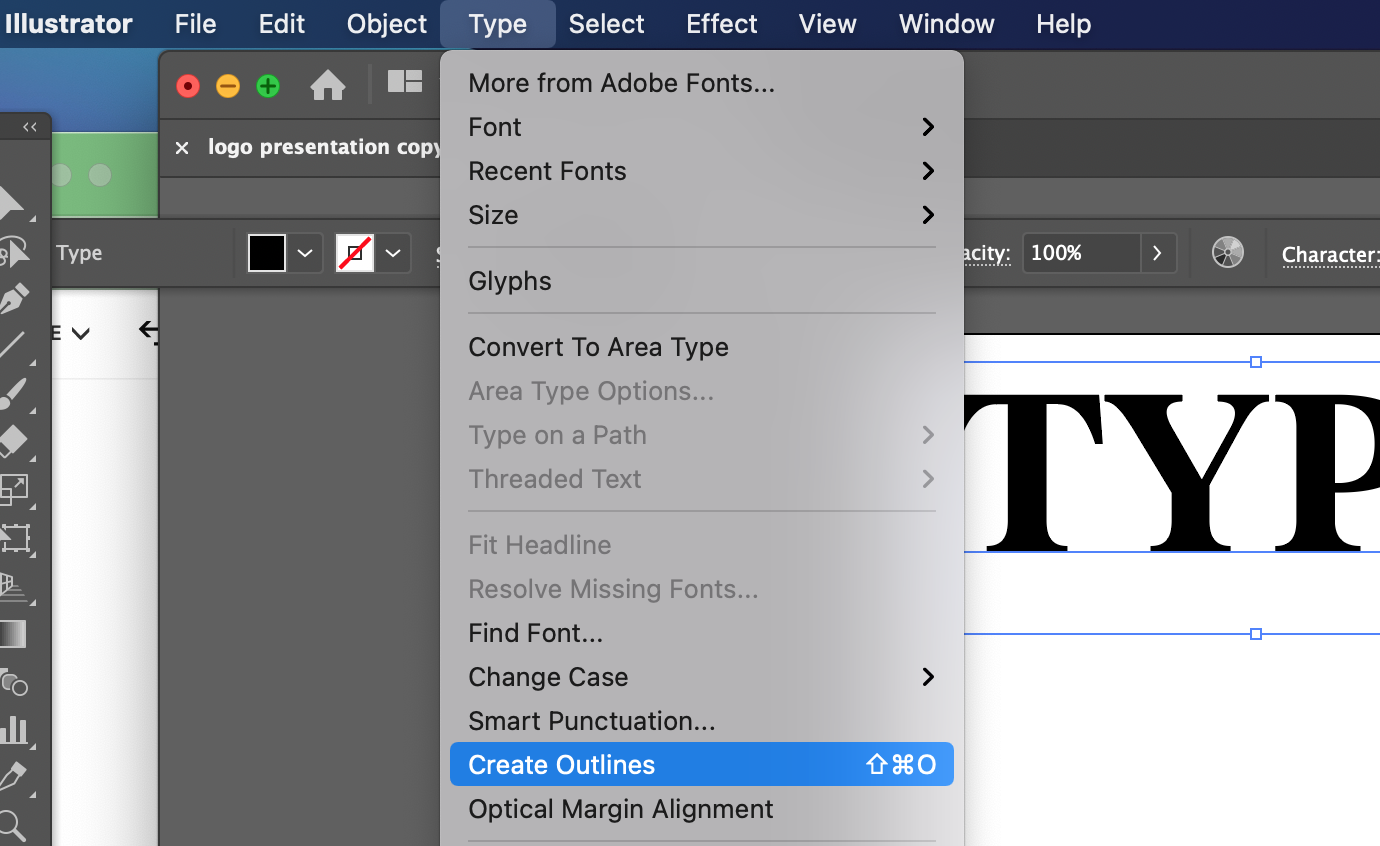
Avoid using text | If you do, make sure it’s hand-drawn. When using fonts, this can be a legal issue. You have to check the font license to make sure it’s permitted to use commercially. If it is, all the text must be converted to outlines, so there aren’t any issues with clients not having the same fonts. To do this in Adobe Illustrator, just click on your text, go to “type”, and “create outlines".
2. All of your lines should be strokes | Avoid any lines that are scanned from an image or taken from a Raster-based image. Make sure all your paths are closed on your shapes as well.
3. Patterns need to be seamless | This will make it much easier to duplicate
4. Avoid auto-tracing as much as possible | If you do use it, make sure that you clean up your outlines. Auto tracing can make it really difficult for a customer to make changes. It can often be pretty messy where all the points and lines are. It is possible to use auto-tracing, I would just avoid it as much as you can. If you do need to use it, keep reading for some ways you can clean it up.
5. Artboard size | As far as technical specs go, you’ll want your artboard to be a minimum of 15 MP and a maximum of 68 MP. I suggest trying to keep your files as clean as possible.
USING PROCREATE
If you’re already familiar with illustration, you might already be using this app to create your work. Procreate is a Raster-based program meaning it works off of pixels instead of points like in Illustrator. This makes Procreate more like Photoshop when dealing with resolution and image quality. Any artwork you bring into Procreate will automatically become Raster-based. When it’s exported, it remains that way. So, if you have Procreate illustrations that you would like to submit as a Vector file, you basically have two options for converting your Raster-based artwork to Vector.
Re-create the artwork in Illustrator from scratch
Live trace the exported black + white Procreate artwork and clean up your Vectors (points).
Astropad. This is an iPad app for Illustrator and it seems to make it a lot easier than trying to go in and do it by hand in Illustrator.
As I mentioned before, you can submit a JPEG or raster image as well, it’s just not as versatile as submitting a Vector image. You might consider trying both ways and seeing how they sell!
Don’t miss these other helpful posts on Stock Illustration:
5 SECRETS FOR STOCK ILLUSTRATION SUCCESS
PASSIVE INCOME FOR CREATIVES: STOCK ILLUSTRATION
Want to learn more about stock? My signature course, Stock Photography Academy will teach you how to build a profitable stock photo, illustration, and video portfolio.